 “So, your Windows 10 won’t upgrade to Windows 11 because it does not have an 8th Gen (released about Aug 2017) or newer Intel CPU or it doesn’t have a TPM 2.0 security module.
Most brand-name computers can be upgraded all the way back to about 3rd Gen Intel chips or so. They just need to be prepped to do so first!
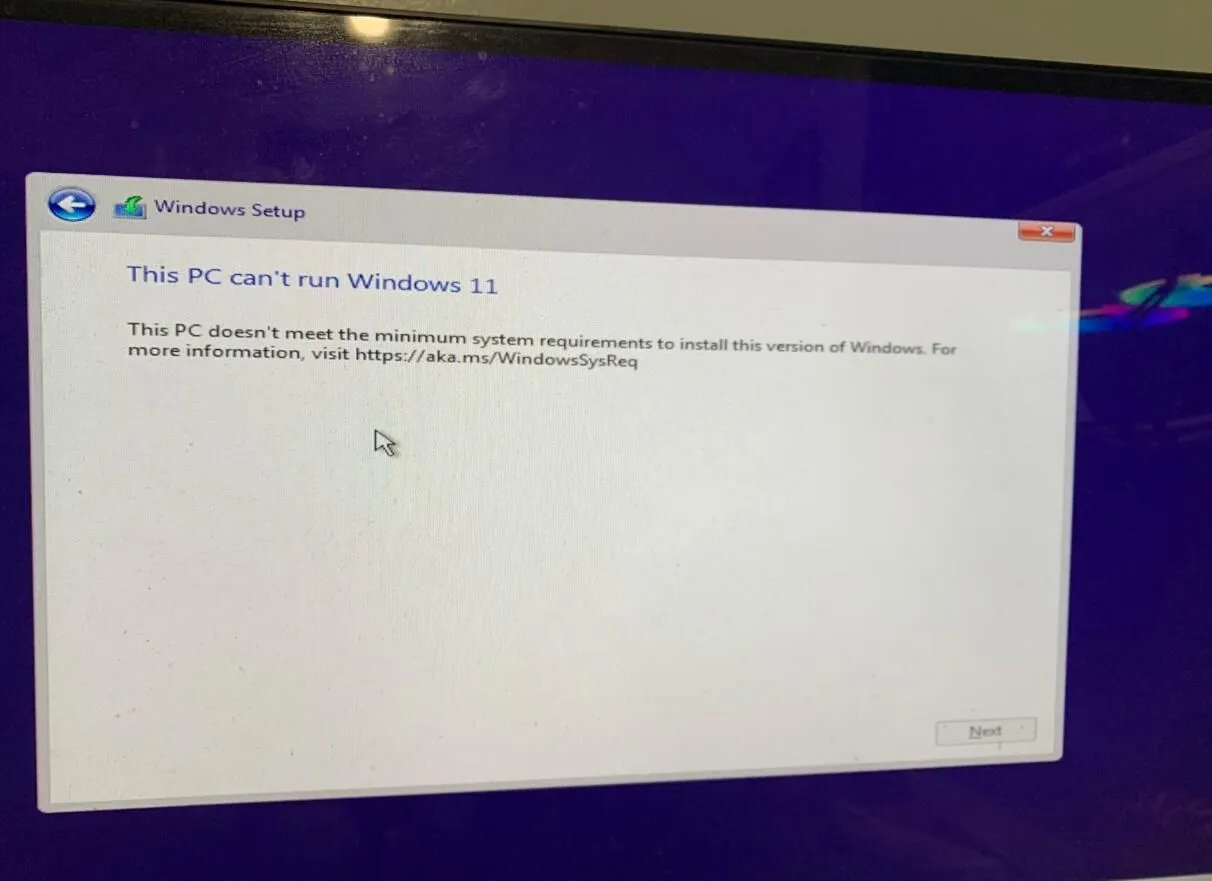
In most cases, you can ignore this message:
“This PC doesn’t meet the minimum system requirements to install this version of Winfows. For more information, please visit https://aka.ms/WindowsSysReq“
Boot from a USB stick made with the Microsoft Media Windows 11 Creation tool. You may need to press the startup key prior to staring and/or you can do an “in-place” installation.
When the setup screen appears, Press SHIFT and then tap F10.
A command prompt will appear.
Type in regedit and press enter. The registry editor will load.
Navigate to the following path: HKEY_LOCAL_MACHINE\SYSTEM\Setup
Highlight and then Right-click on the Setup (folder) key, select New, and then select the Key option.
Name the new key LabConfig
Highlight/Select the LabConfig folder.
Right-click the LabConfig key, select New, and then the DWORD (32-bit) Value option.
Name the key BypassTPMCheck and press Enter.
Double-click the newly created key and set its value from 0 to 1.
Right-click the LabConfig key, select New, and then the DWORD (32-bit) Value option.
Name the key BypassSecureBootCheck and press Enter.
Double-click the newly created key and set its value from 0 to 1.
Close the registry editor and continue with the Windows 11 setup process.